Card for a friend. Technique for Butterfly is below also.


 Supplies you'll need: Sticky Paper, Peel Off stickers, Transfer paper, Glitter, Copics (if you choose to color).
 Cut around the Peel Off stickers you want to use.
 If you're planning to glitter the entire piece with different colors you'll want to leave the inside pieces of your sticker intact and then cover the sticker with the transfer paper.
 Slowly peel the sticker backing off leaving the Peel Off sticker attached to the Transfer Paper.
 Apply sticker to the Sticky Paper using the Transfer Paper. When peeling up the Transfer Paper you'll want to do this slowly as to not rip off any of the stickiness.
 If you're going to do the entire piece one color than there's no need to leave the inside pieces of the sticker unless you plan on glitter the entire background rather than trimming.
 I'm not going to glitter the background so I went ahead and trimmed around my Peel Off stickers.
 For coloring with Copics I like the Cool Highlight glitter. Bought this at a LSS.
 Dump Glitter over your Sticky Paper and push glitter into Sticky Paper. Remove excess Glitter and burnish with finger until you get a very smooth texture (almost like foil).
 Make sure all Glitter is burnished and there are no loose grains.
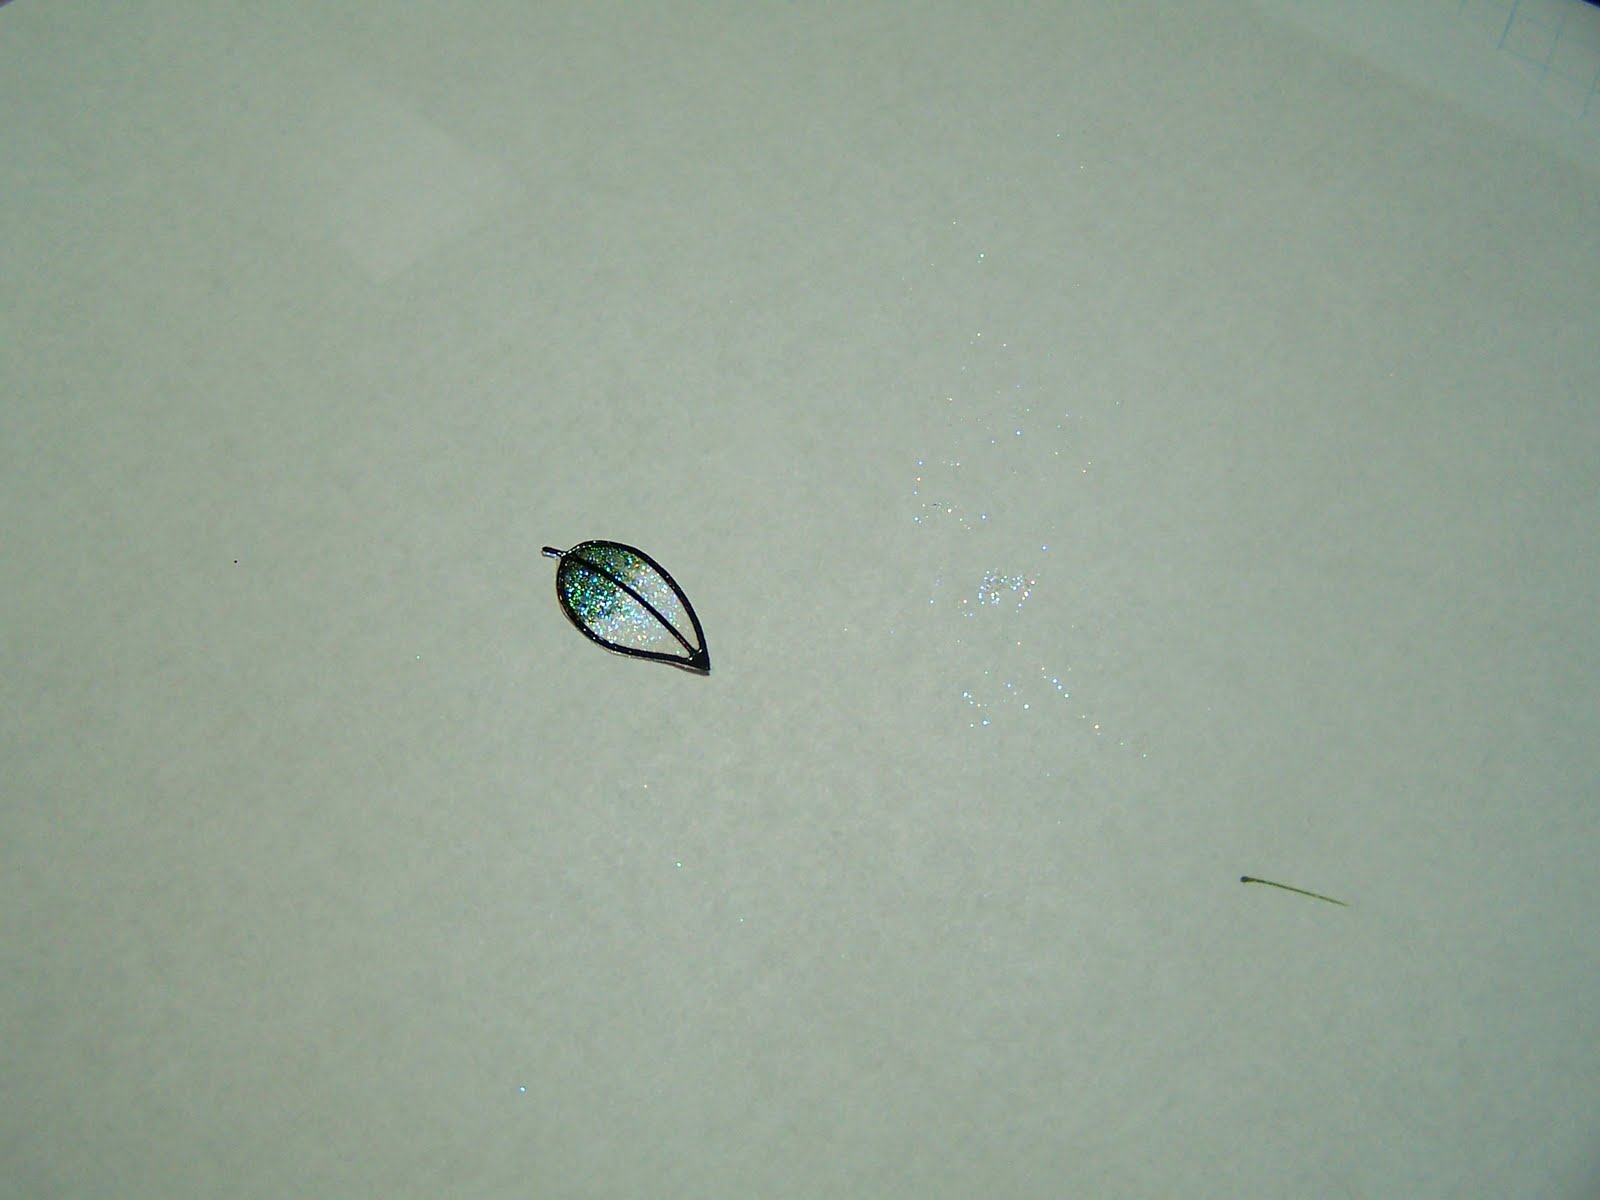 Take the Copic marker and gently flick over your piece where you want color. Flicking at different pressures with give you different results.
 For adding different color Glitter sections you'll want to carefully peel off the inside pieces with tweezers different sections at a time.
 I want my petals all one color so I peeled off all the inside petal pieces.
 Dump glitter and burnish with finger till foil like smooth texture.
 Make sure all excess Glitter is off.
 Repeat with remaining sections.
 Ready to use on your projects!


---------------------------------------------------------------------
This is outdoor grade 3-5 year vinyl I bought off Ebay from seller: vinylmayhem1996. Very reasonable cost too!(put in an offer of 50cents per foot). I got all this for like $20 with shipping!