Here is the layout I finished today. I used a sketch this time because I was just drawing a blank (sketch from Allison Davis). I kept it simple and added quite a bit of sewing to it even though my machine was acting up and my stitches aren't perfect - oh well. I used Inkscape to form my text in a circle and then cut it out with my MS circle cutter.
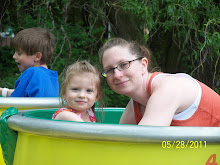
The pictures are of my younger son getting his ear pierced. His older brother has his done and he insisted through the tears. We had to have it done at a tattoo/piercing shop with an actual needle because he has extremely sensitive skin and needed special earrings.
I use the top portion of the hanging calendar for photos of things that happened that month so pictures don't go on till the end of the month which is why June has an empty top. I ink around the edges of the top portion to match the calendar for that month and then once the pictures are on I add little captions so that when I look back years later I know what was going on.
Sympathy cards are always so hard to make. I had a lot of fun making these and absolutely love they way they came out! Some are ideas I've gotten online and some are ones that I came up with. Thanks for looking :)
For this I used random patterened paper I had left over. I adhered it to a peice of cardstock then ran it through my sizzix using the Top Note die from SU!. Added patterned paper to the edge and used a scalloped border punch. The letters are just fabric stickers I had lying around.
I used flock on all these cards. The flock was adhered down using Stamp and Bond embossing powder. I just love the texture of these images. The sentiment on the bear card I just printed off my computer.
Love love love this card! The front cupcake border is from a new EK Success punch - isn't it adorable??? I added red stickles for the cherries. The center punch out is also a new EK Success - I added paper and vellum behind the cut outs and added some of the same paper at the bottom part of that stair, also added yellow stickles to the candle flames. The back is just a circle that I cut with my coluzzle. The happy birthday was printed on my pc and I cut the letters and adhered them to the back of the circle. The balloons were cut with Stretch Your Imagination and I attached them with orange and yellow wire. The orange circle in front of the yellow one is used to hid the tag for the TO: and From: for when the card is given. The tag was made with the SU! tag punch
The main image of the card front was from a page of squares tags I had. I added a flower from Basic Gray. The sentiment is embossed in white. Added a little ribbon, faux stitched with my white pen and punch out the word Thanks using a Martha Stewart border punch.
Love Love this card! I distressed the edges of the front of the card and inked them. The butterflies on the inside are from a border punch that I used the negative on and then popped them up. The sentiment is from an Amy R Stamp Collection called Thank You. I used my Oval Coluzzle for the main center cutouts.
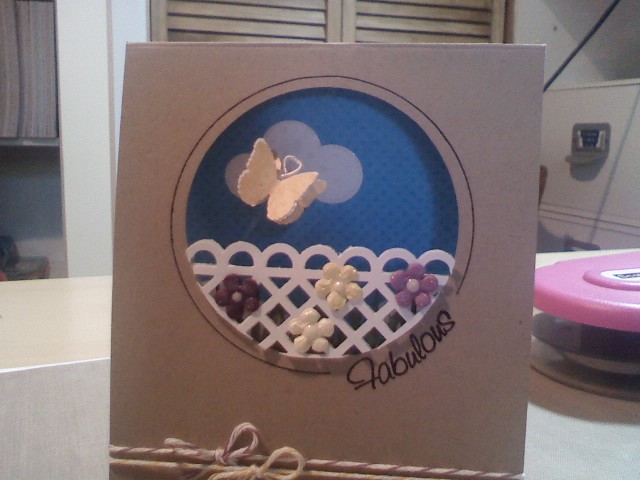
I used the Big Flower Stamp from SU! with versamark and clear embossing powder on some patterned cardstock which I then cut around. The leaves are the flipside of the paper. I hand cut the leaves and ran them through my crimper giving them a veiny look and then inked over them with distressing ink. The background is Kraft paper stamped with Versamark Dazzle with a script background. The button is from a Martha Stewart punch and I added a little twine. I really like how this turned out - simple but pretty.
I am a 32 year old stay at home mom to 2 wonderful sons (ages 10 & 8) and 1 beautiful daughter (age 3). My hobbies are scrapbooking, cardmaking, paper crafting, gardening and being outdoors!
If you use one of my creations or cut files I'd appreciate a link back to my blog. I always give credit where credit is due and I'd appreciate the same courtesy. Thanks and have a great day.
If you have any questions about any of my cut files or projects feel free to Contact me.