Card for a friend. Technique for Butterfly is below also.


 Supplies you'll need: Sticky Paper, Peel Off stickers, Transfer paper, Glitter, Copics (if you choose to color).
 Cut around the Peel Off stickers you want to use.
 If you're planning to glitter the entire piece with different colors you'll want to leave the inside pieces of your sticker intact and then cover the sticker with the transfer paper.
 Slowly peel the sticker backing off leaving the Peel Off sticker attached to the Transfer Paper.
 Apply sticker to the Sticky Paper using the Transfer Paper. When peeling up the Transfer Paper you'll want to do this slowly as to not rip off any of the stickiness.
 If you're going to do the entire piece one color than there's no need to leave the inside pieces of the sticker unless you plan on glitter the entire background rather than trimming.
 I'm not going to glitter the background so I went ahead and trimmed around my Peel Off stickers.
 For coloring with Copics I like the Cool Highlight glitter. Bought this at a LSS.
 Dump Glitter over your Sticky Paper and push glitter into Sticky Paper. Remove excess Glitter and burnish with finger until you get a very smooth texture (almost like foil).
 Make sure all Glitter is burnished and there are no loose grains.
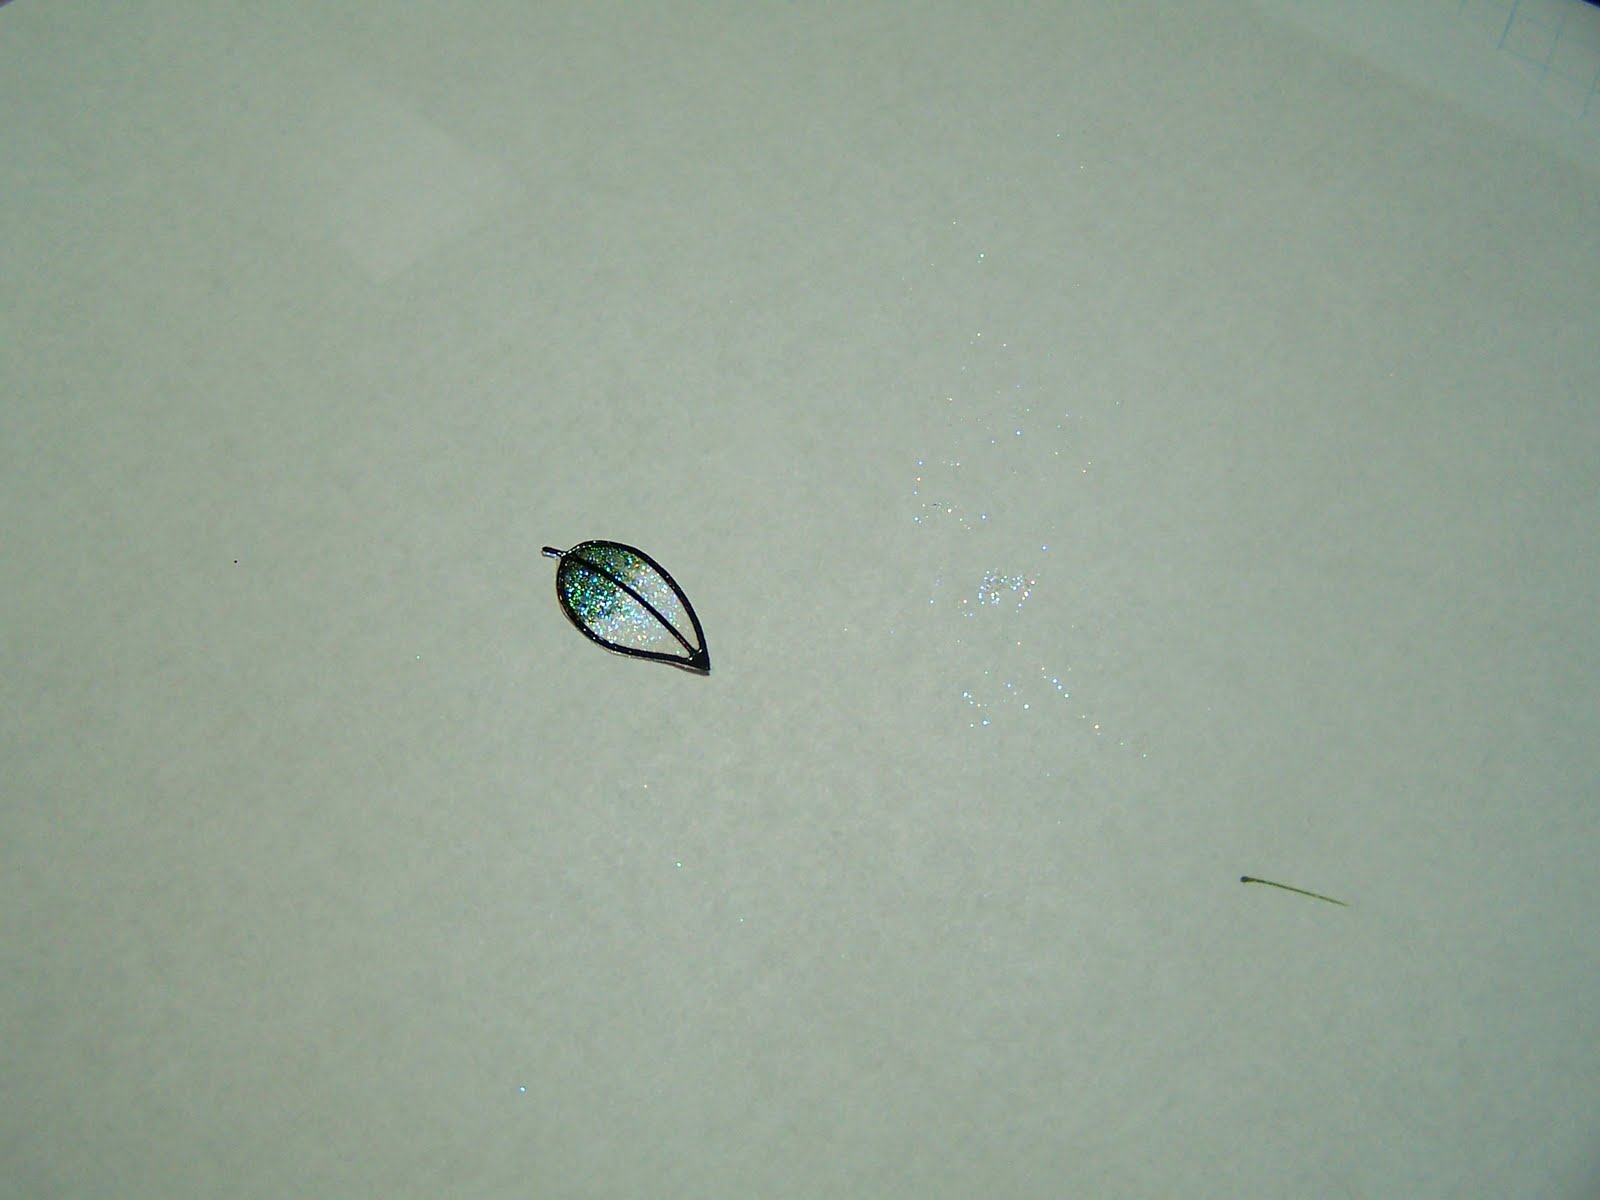 Take the Copic marker and gently flick over your piece where you want color. Flicking at different pressures with give you different results.
 For adding different color Glitter sections you'll want to carefully peel off the inside pieces with tweezers different sections at a time.
 I want my petals all one color so I peeled off all the inside petal pieces.
 Dump glitter and burnish with finger till foil like smooth texture.
 Make sure all excess Glitter is off.
 Repeat with remaining sections.
 Ready to use on your projects!


Love this method that I learned at my LSS Utopia in Henrietta, NY! Jen, the owner, is fabulous! For this I used Sticky Paper, any type of lace or doily and ultra fine glitter.
Take the sticky back off the paper and place your lace down on the paper. Sprinkle your first color of glitter on the paper and press down. Tap off excess and then remove the lace. Now sprinkle your second color glitter down and it will now only adhere to the sticky part where the lace was. Press down and then tap off excess.
It's really neat and the texture is amazing not to mention the sparkle that the camera just can't capture!
-----------------------------------

This is another one I did. It hasn't been made into a card yet but wanted to post it because it's so pretty!


 Recessed Window Card and Gusset Envelope
 After file is cut this is what it should look like
 Open to the inside and fold on score lines closest to the inside of window
 Fold triangle areas inward now so it looks like above (this is a view from the inside of the card)
 Card closed after scoring
 All my layers cut out
 Put Adhesive on triangle area where the front layer will go
 Front layers added inside of window frame
 Inside of card (back of recessed window)
 Layers added on top of inside piece to make it look nicer
 3 ovals punched out using SU! large oval punch
 Sprayed with Elmers spray adhesive and then sprinkled with Martha Stewarts Tinsel Glitter
 Ribbon for stem added
 Pumpkin placed in recessed window along with wrapped hemp twine
 Front frame stamped with brown and green ink
 Full inside of card
 Top inside of card
 Front of card
 Side view of card
 Side view of card
 Card and back of Gusset Envelope
 Card and Gusset Envelope
 Front of Gusset Envelope
 Card inside of the Gusset Envelope